
Last updated November 18, 2026
 Hardwood
 Engineered hardwood
 Luxury vinyl plank
 Laminate
 Porcelain tile
 Carpet
 Shaw
 Mohawk
 COREtec
 Pergo
Free in-home measure and written estimate: Shaw, Mohawk, COREtec and Pergo lines compared on your own rooms, with carpet, tile, vinyl plank, laminate and hardwood laid out side by side
Get your free estimateHow to Prepare Your Home for a Flooring Installation in Summerlin
Most flooring projects that run into trouble don’t fail because of bad material or sloppy work. They fail before the first plank comes through the door, and the cause is usually a prep gap nobody flagged. Furniture still in the room. Old adhesive nobody mentioned. New flooring stacked in a 108°F garage to “get it out of the way.” These things sound small until they push a project a day or two off schedule, or turn a clean number into a revised one. This guide is about the part of the job you actually control. We’ll walk you through the timing, the room-by-room logistics, the acclimation rules that matter most in a Summerlin summer, and what a normal first week after installation looks like.
Quick Answer
To prepare for a flooring installation, clear each work area completely, move the new material into the actual installation rooms 48 to 72 hours ahead so it can acclimate, document any old adhesive, stains or leveling compound on the subfloor, and keep your HVAC running at a steady temperature throughout. In Summerlin, acclimation timing and dust control are the two steps homeowners most often skip, and the two that cause the biggest first-day delays.
Styles & brands we work with
- Hardwood
- Engineered hardwood
- Luxury vinyl plank
- Laminate
- Porcelain tile
- Carpet
- Shaw
- Mohawk
- COREtec
- Pergo
Table of Contents
- The 72-Hour Prep Timeline
- Why Acclimation Works Differently in Summerlin Heat
- Room-by-Room Staging: What to Move and What Pros Won’t Touch
- How to Sequence a Multi-Room Project
- Your Subfloor Disclosure Checklist
- HVAC, Dust Control and Summer Temperature Balance
- The 24 to 72 Hours After Installation
The 72-Hour Prep Timeline
Installers lose hours on day one when a room isn’t ready. A cleared room lets the crew walk in, set up containment, and start pulling old flooring without waiting on anything. A full room means someone is still hauling a dresser down the hall while the crew stands by. Three days is usually enough time to do this without rushing, and it maps neatly to how long movers and material handling take in this valley.
Here’s the sequence we recommend for a Summerlin project. Adjust the dates as your estimate visit and schedule dictate, but keep the order.
- Three days out: Confirm delivery or pickup of the new flooring and stage it inside the installation rooms, not the garage. Arrange parking or driveway access for any delivery truck.
- Two days out: Move all furniture out of the rooms being worked on. Disconnect electronics, empty closets, and take down anything hanging on walls in the work zone.
- Two days out: Photograph the exposed subfloor and note anything unusual: old adhesive, water staining, patched areas, cracks.
- One day out: Detail the traffic path from door to work area. Cover or remove rugs along the route. Confirm where pets will stay during the project.
- Install day: Have a clear parking spot, the rooms empty, and the thermostat set. Hold any questions for the crew lead before work starts, not mid-demo.
Timing isn’t just about tidiness. When material sits in the space it will be installed in, it reaches the same temperature and humidity as the home. That’s the whole point of flooring installation Summerlin handled with real planning behind it. The work itself is the visible part. The 72 hours before it are what make the visible part go smoothly.
Why Acclimation Works Differently in Summerlin Heat
Acclimation means letting new flooring sit in the room it will be installed in so it reaches the temperature and moisture level of that room before it’s nailed, glued or clicked down. Most manufacturers specify an acclimation window in their product instructions, and those instructions set the real number for your specific floor. As a general rule, plan on 48 to 72 hours, and confirm the exact window with your installer and the product documentation before delivery.
Why does it matter more in Summerlin? Because in July and August, the inside of an unconditioned garage can climb well past 100°F while the living room is sitting at 76°F with the AC running. Move a stack of plank flooring straight from a warehouse into that garage overnight, then into the house the next morning, and the material hasn’t had time to settle. It hasn’t reached the same condition as the room it’s about to live in for the next twenty years.
What goes wrong when acclimation gets skipped
- Plank joints that should close tightly can gap or ride up weeks after installation.
- Hardwood can shrink or swell as it rebalances, and a floor that looked flat on install day can show movement later.
- Adhesive-backed or floating floors can develop hollow or popping spots as the material continues to move.
These outcomes depend on the product, the home and the season, which is exactly why we follow the product instructions and let the written estimate set expectations up front. The takeaway is simple: bring the material inside the house, not the garage. Keep it flat, in the rooms where it will be installed, and let it sit for the window the instructions call for. Doing this in Summerlin’s summer heat costs you a couple of days of clutter. Skipping it can cost you a floor that never quite settles.
Room-by-Room Staging: What to Move and What Pros Won’t Touch
Professional movers handle furniture, boxes and most household items, but they won’t move certain things, and neither will an installation crew. Knowing the boundary up front prevents the awkward moment when the team arrives and can’t touch a quarter of the room.
What movers typically will move
- Sofas, beds, dressers, dining tables and chairs
- Bookcases and shelving (usually emptied first)
- Boxes, decor and loose items
- Rugs and roll-up carpets
What movers usually won’t touch
- Aquariums and fish tanks
- Pianos and other instruments that need specialized handling
- Large safes and gun safes
- Electronics (computers, TVs, audio equipment) – these should be disconnected and packed by you
- Appliances that need unhooking from gas or water lines
Plan on handling the items in that second list yourself, or hire a specialty mover for the piano and the safe. For an aquarium, that means a plan for temporary housing for the fish and a place for the tank that isn’t in the work zone. For electronics, unplug, label the cables, and box them before the crew arrives.
One more staging note for Summerlin homes: as you clear rooms, use the garage or a spare bedroom as your temporary holding area, not the room next door to the install. Stacking furniture into an adjacent bedroom works until the crew needs to move through that bedroom to reach a hallway. Clear path, clear rooms.
How to Sequence a Multi-Room Project
A whole-home flooring project isn’t one job; it’s several jobs stitched together. Sequence them badly and you’ll end up using a freshly finished room as a staging ground for the next one, which defeats the purpose. Sequence them well and you can live comfortably throughout the project.
Here’s a workable order for a Summerlin home going room by room:
- Start with a room you can live without – a formal dining room, a guest bedroom, a home office. These absorb schedule adjustments without disrupting daily life.
- Move to high-traffic living spaces – living room, family room, hallways. Do these while you still have the bedrooms as refuge.
- Finish with bedrooms and the primary suite last – keeping the primary bedroom available as sleeping quarters as long as possible.
- Protect finished areas during later installs – use moving blankets, cardboard or construction paper along the traffic path so the new floor isn’t scuffed by crews hauling material for a later room.
- Keep one functional kitchen and bathroom throughout – never let the sequence take away all cooking or bathing capacity at the same time.
A project like this also gives you a chance to think about the whole material mix, not just one product. This is where our access to nine recognized brands matters: you can compare carpet installation for the bedrooms alongside resilient options for the hallways in a single conversation. Shaw and Mohawk cover the soft-surface and laminate side, COREtec handles the premium resilient end, and you’re not driving between three stores to see the options.
The other practical step: finish one room completely, then move on. Partially finished rooms become storage. Finished rooms become usable. That’s the difference between a project you can live with and one that swallows your house for a month.
Your Subfloor Disclosure Checklist
Under every floor is a subfloor, and it’s often hiding a story. Old adhesive from a previous installation, water staining from a past leak, a layer of leveling compound someone poured years ago – these things change the scope of the job. Documenting them before install day means no surprises when the crew pulls up the old flooring and finds them.
Perform this check once the old flooring is up or your installer has exposed a section, and share the photos with whoever wrote your estimate.
- Old adhesive: Trowel marks, dried glue or black mastic from a previous install. This has to be addressed before the new floor goes down, and some adhesives need special handling.
- Water staining or discoloration: Dark patches on the plywood or concrete indicate moisture at some point. Note the location and share it with the installer.
- Leveling compound: A smooth, greyish layer over part of the subfloor means someone tried to flatten it before. That base layer’s condition matters for the new install.
- Cracks in concrete: Common in desert slab foundations, and relevant to whether the concrete needs repair before the new floor is installed.
- Squeaks and soft spots: Walk the subfloor. Loose boards or soft spots under the surface indicate loose fasteners or moisture issues.
- Previous patching: Mismatched plywood sheets or visible repair work suggest a prior fix that may or may not have held up.
For tile, the disclosure matters even more because the install often involves underlayment or a membrane over the subfloor, and tile flooring installation can’t compensate for movement or deflection in the base. Every one of these items is easier to price before demo day than after. Photograph each one, mark the location in a simple sketch, and hand the whole thing to your installer. That’s the whole discipline: disclose early, adjust the estimate, install clean.
HVAC, Dust Control and Summer Temperature Balance
There’s a tension during installation that most guides skip. Dust control wants you to seal off the work area and shut down returns. The floor wants a stable temperature. In Summerlin in July, those two goals pull against each other.
Shut down the HVAC entirely during a summer install and the work area heats up fast. Once it’s 90°F in the room, the new flooring, the adhesive, and the crew all perform differently than they do at 76°F. That can affect how the material behaves and how comfortable the install is. So the balance to strike is containment without turning off the system.
- Contain the dust at the source: Installers typically use plastic sheeting at doorways and a zippered entry point so the work zone stays sealed while the rest of the house breathes normally.
- Cover the return vents in the work zone: A return grille in the room being sanded or demo’d will pull dust into the whole system. Cover it with a filter media or plastic during active work and check the filter afterward.
- Keep the thermostat set, not off: Run the AC at your normal setting through the project. That gives the new material a stable reference environment, which matters for acclimation.
- Protect the equipment: A furnace or air handler near the work area benefits from a temporary barrier so sawdust and debris don’t find their way into the unit.
- Change the filter when the job is done: Simple, cheap, and often forgotten.
For hardwood refinishing, ask the crew about how sanding dust will be managed in the specific rooms being refinished. Sanding and finishing generates more dust than a plank install, and the containment plan needs to match. Our technicians have up to 9 years of experience, and in that time we’ve learned that a solid containment plan is the difference between a project that ends with a clean house and one that ends with dust on every shelf for weeks.
The 24 to 72 Hours After Installation
Install day ends and it’s tempting to move everything back in immediately. Resist for 24 to 72 hours. Different products have different rules, and your installer will tell you what yours are, but the general window is often a day to three days of light or no use while adhesive cures, finish cures, or a floating floor settles.
Here’s what to keep an eye on during that window.
- Furniture: Keep heavy furniture off the new floor until the installer confirms it’s ready. Use felt pads on everything that goes back.
- Temperature stability: Keep the HVAC set. This matters most in Summerlin’s summer, when a hot house can cause flooring to move as it settles.
- Foot traffic: Soft-soled shoes, no heels, no pets running laps. A day or two of care is cheap compared to fixing a scuffed floor.
- Moisture: No wet mopping during the cure window. Spills get wiped up, not scrubbed.
What’s normal
Creaking, a faint smell from a fresh adhesive or finish, minor gapping at seams in the first week or two as the material settles – all within normal range depending on product. A hard floor that feels slightly different underfoot for the first few days is also expected.
What’s a call to the contractor
Large gaps continuing after the settling window, buckling, hollow spots where a plank lifts, or visible lifting at edges. Those merit a call. Take a photo and describe the location, and someone will come out and take a look.
Common Mistakes to Avoid
- Stacking new flooring in the garage. The 108°F garage in a Summerlin summer is the worst possible acclimation space; bring the material into the house for the full acclimation window.
- Skipping the subfloor photo record. Photographs done before demo protect you from scope-change surprises; no photos means a verbal memory neither side can check.
- Leaving electronics and aquariums in the room. Movers won’t move them, crews can’t move them, and they sit in the middle of the work zone. Handle them yourself before install day.
- Shutting off the AC to “seal off dust.” Dust containment and temperature stability both matter, and they’re both achievable with doorway barriers and covered returns rather than turning the system off.
- Staging furniture in the next room over. A bedroom used as a holding area becomes a detour the crew has to work around. Give furniture a real destination, not a temporary one.
- Choosing every room’s material without one strategy. Carpet for bedrooms, tile for wet areas, resilient for hallways, refinish for existing hardwood – the right floor for how each room lives prevents do-overs. Comparing all of it in a single Sandy Valley consultation is faster than shopping separately.
- Moving furniture back too fast. That 24 to 72 hour window matters. A floor that’s forced too early carries the marks for years.
See the difference
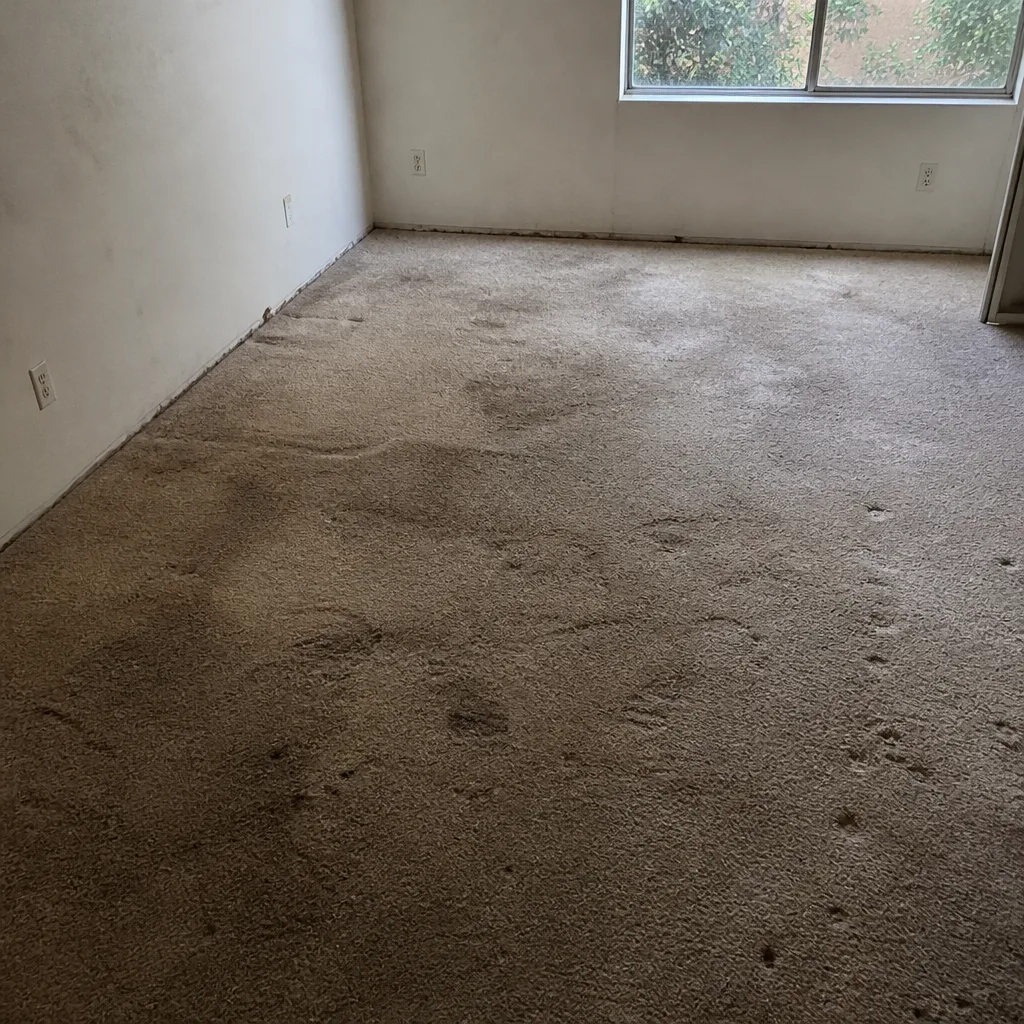 Before
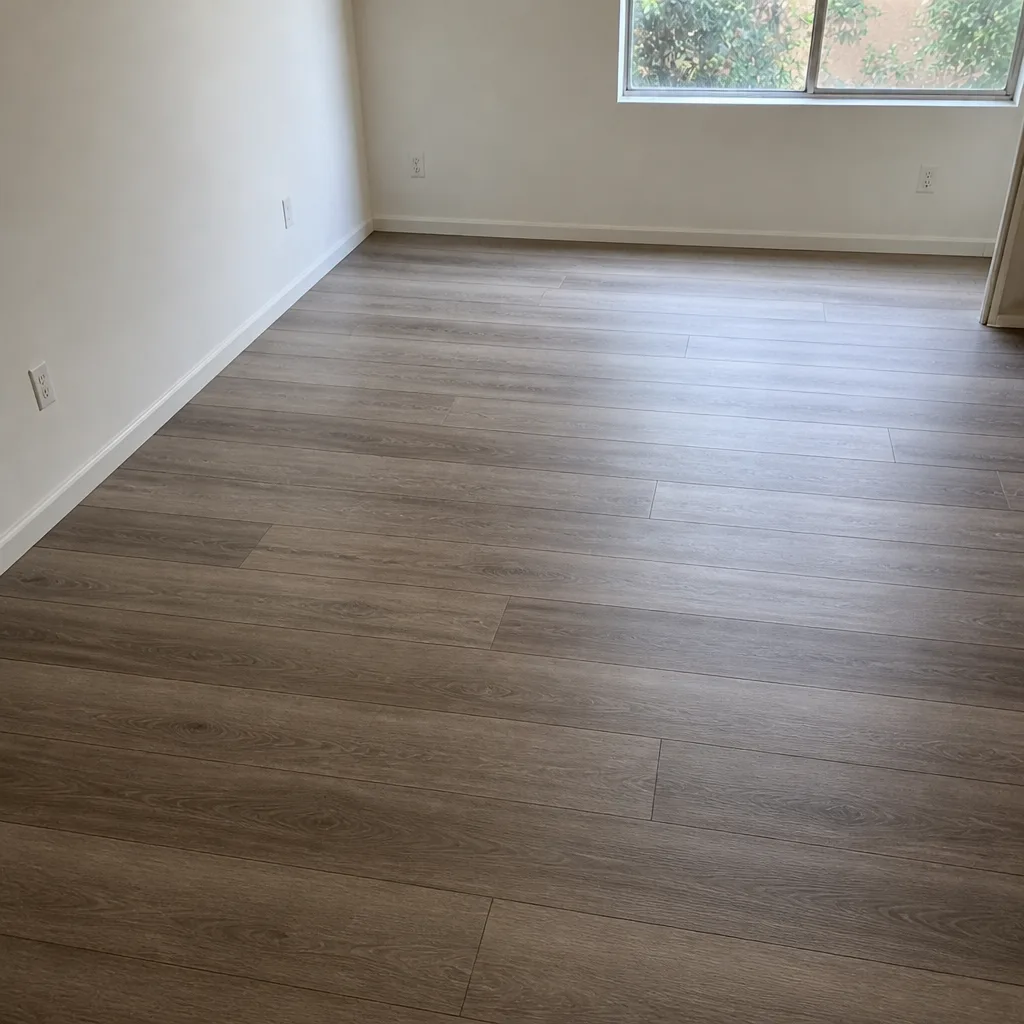 After
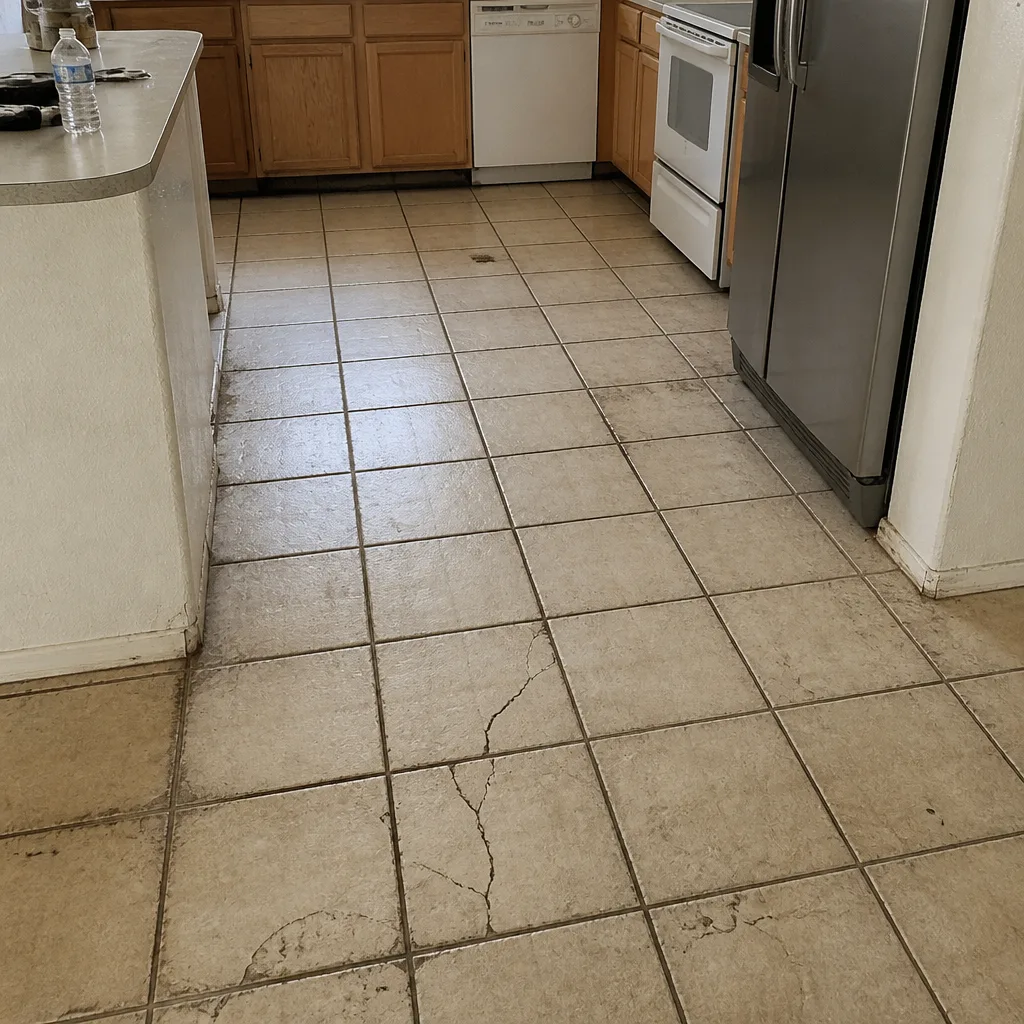 Before
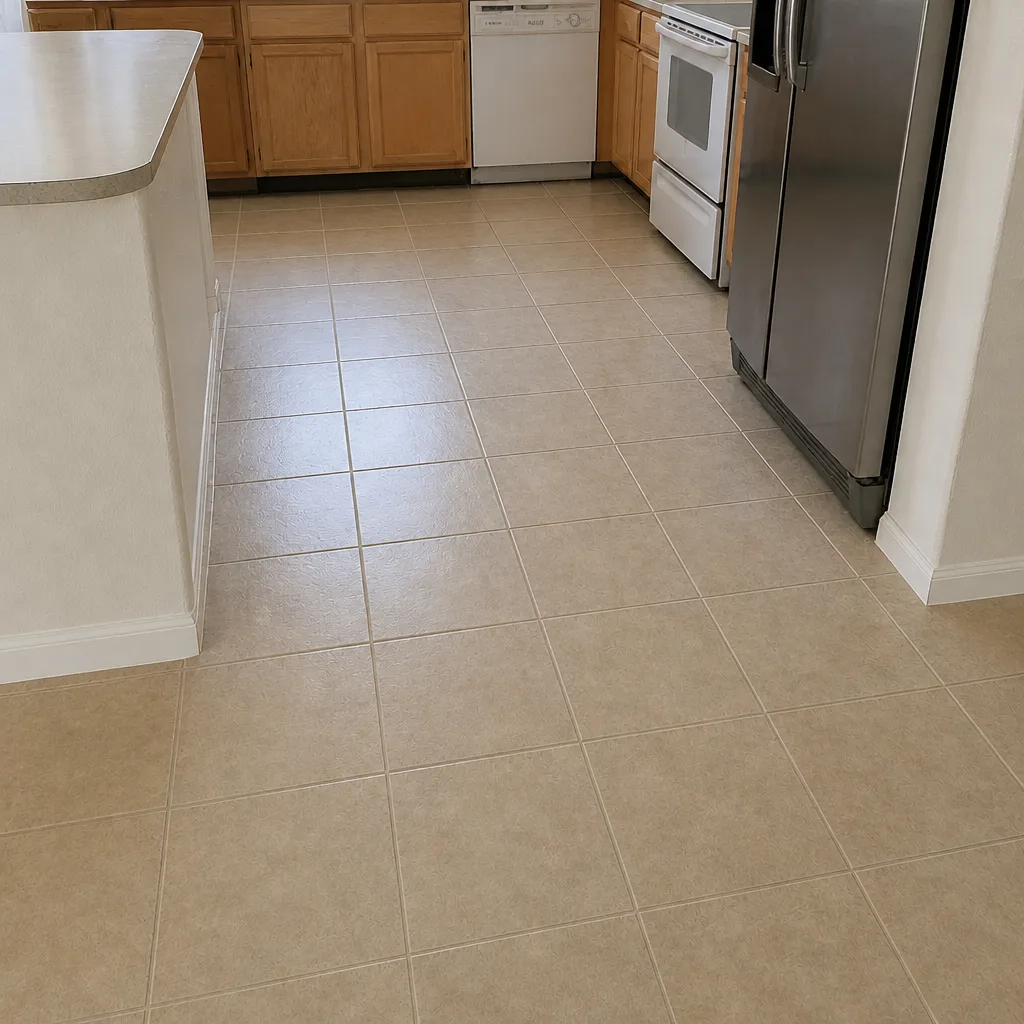 After
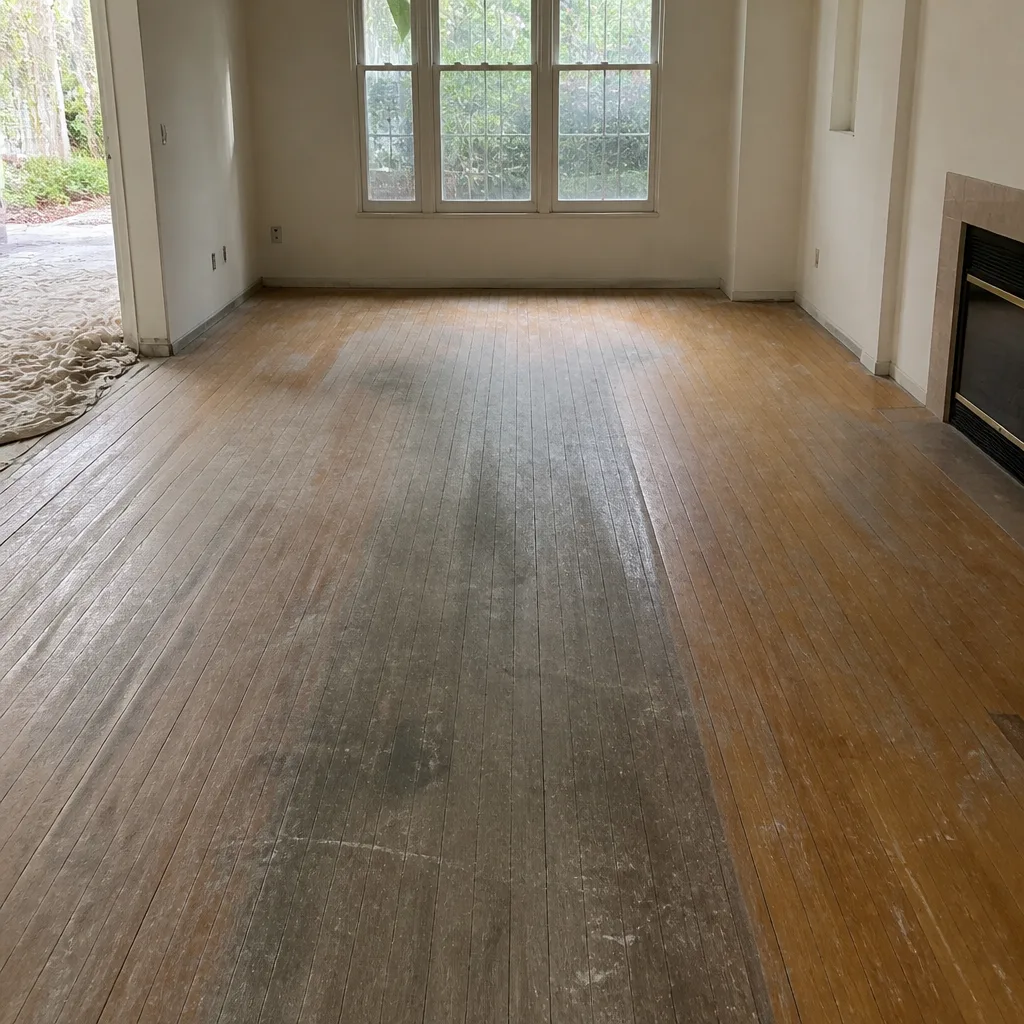 Before
 After
When to Call a Professional
Some prep you can handle yourself: clearing rooms, moving electronics, taking photos of the subfloor, keeping the thermostat steady. Other situations call for a professional. If your subfloor shows significant damage, deflection underfoot, or extensive prior repair, a qualified installer should evaluate it before anyone buys flooring. If you’re refinishing existing hardwood rather than replacing it, sanding and finishing is genuinely skilled work that most installers don’t perform – the refinish has to happen on site, and getting it right is part of why we offer it as a core service rather than sending it out. If the project spans more than two rooms, a professional scheduling and sequencing conversation saves days. And if your new flooring is already in the garage and you’re not sure about the acclimation window, get a professional opinion before it’s installed.
Flooring Installation Summerlin offers free estimates in Summerlin – call (844) 320-7082 to schedule a walkthrough. It’s the right time to get your questions answered and a written price in hand.
Frequently Asked Questions
Most products call for 48 to 72 hours in the actual installation room, but the exact window comes from the product instructions and your installer, so confirm rather than guess. The real point is conditioning the material to the temperature and humidity of the room it will live in, not just the neighborhood. In Summerlin, that means inside the house with the AC running, never in the garage during summer.
Yes, for every room being worked on. Movers typically handle furniture, boxes and decor but won’t move electronics, aquariums, safes or pianos, so plan for those separately. If you’re working one room at a time and can’t clear it, ask your installer what they can work around – some jobs allow it, some don’t.
Nothing unless your installer tells you otherwise. Removing old flooring is usually part of the job, and doing it yourself can create hazards (old adhesive, sharp staples) or change the scope. Let the crew pull it up and inspect the subfloor.
No. Keep the HVAC running at your normal setting so the new material stays in a stable environment. Seal the work zone with plastic sheeting at doorways and cover the return vents in that zone during active work. Change the air filter when the job is done.
Usually right away for a floating install, and typically within 24 hours for glue-down products, but the product instructions and your installer’s guidance set the real number. Furniture and heavy traffic should wait until the installer confirms. For hardwood finishing, the finish cure window is longer and the installer will give you the exact timeline before the job starts.
The main differences are acclimation timing and HVAC management. Summerlin summers push garages well above 100°F while the conditioned house sits in the 70s, so any flooring that acclimates in the garage lands in the house out of balance. Bring the material straight into the rooms it will be installed in, keep the AC on throughout, and follow the product’s acclimation window. For a Summerlin project, call (844) 320-7082 and we’ll walk you through the timing specific to your floor.
The Bottom Line
Preparation is not busywork – it’s the part of a flooring project that determines whether day one goes smoothly and the estimate holds. Clear every work room, move electronics and specialty items yourself, stage new flooring inside the house for its acclimation window (never the garage), photograph the subfloor, and keep the HVAC running. Sequence multi-room projects so one finished space doesn’t become storage for the next. After installation, give the new floor its 24 to 72 hours before furniture comes back. Handle all of that, and your Summerlin flooring project lands where you want it: on schedule, on budget, and installed correctly.
Call (844) 320-7082 for a free estimate. We answer 24/7. Fast dispatch from 7am to 7pm, Sunday through Friday. Whether you’re weighing Shaw, Mohawk, COREtec or another line, the conversation starts with a walkthrough and a written price.
Written by the team at Flooring Installation Summerlin.