
Last updated November 18, 2026
 Hardwood
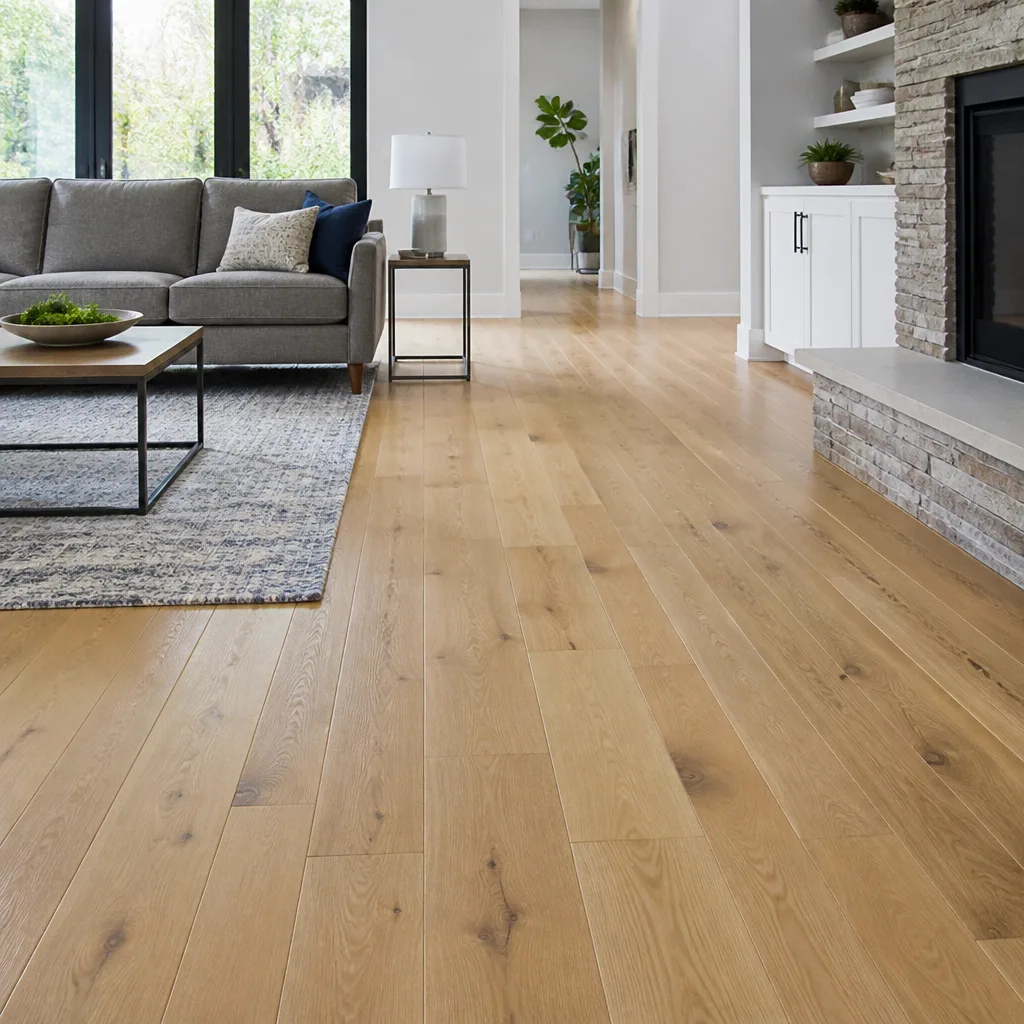 Engineered hardwood
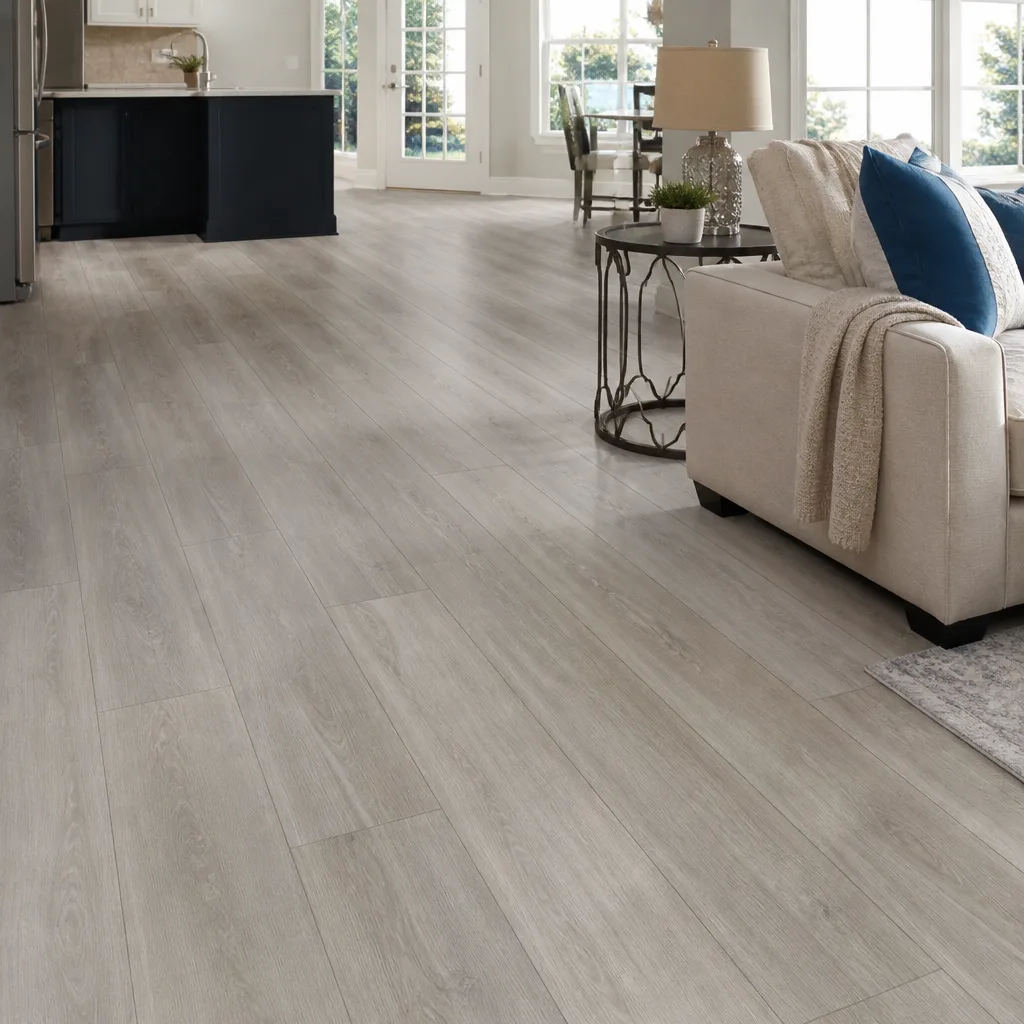 Luxury vinyl plank
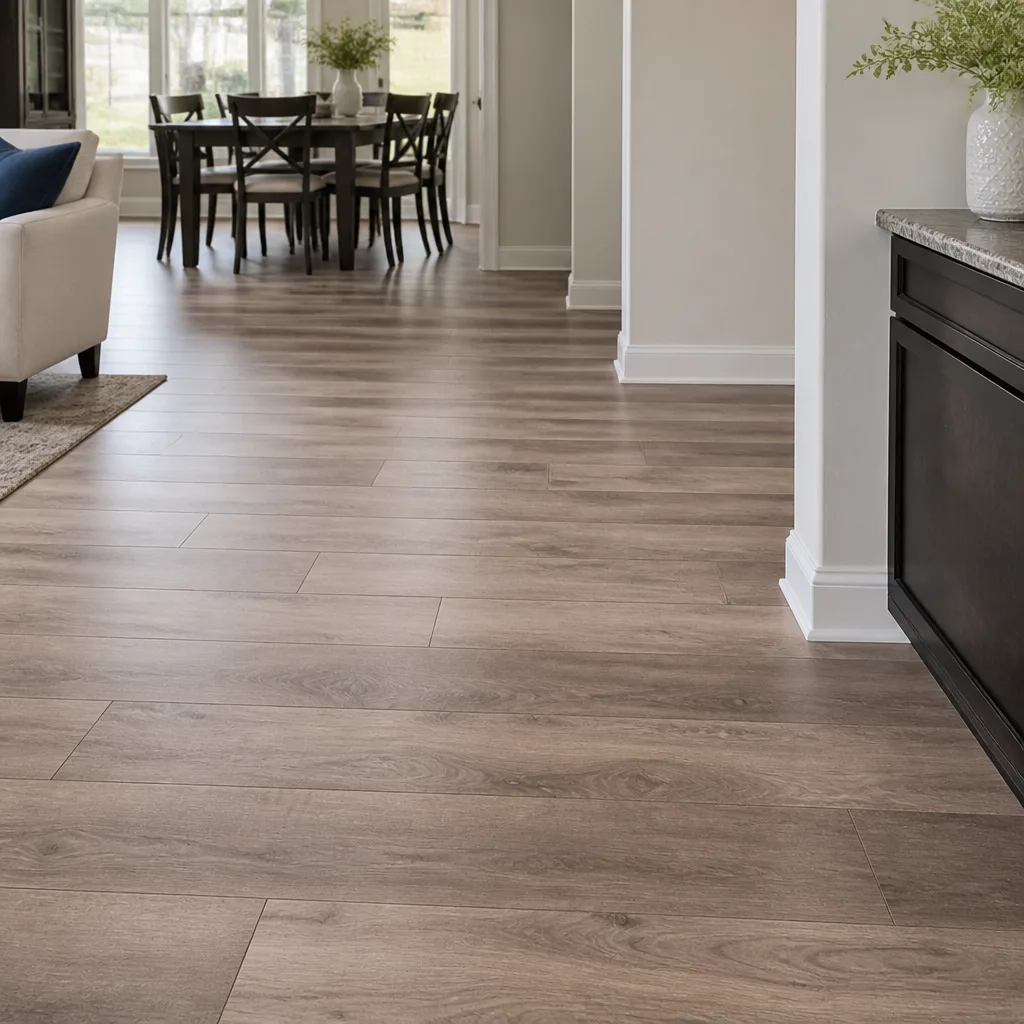 Laminate
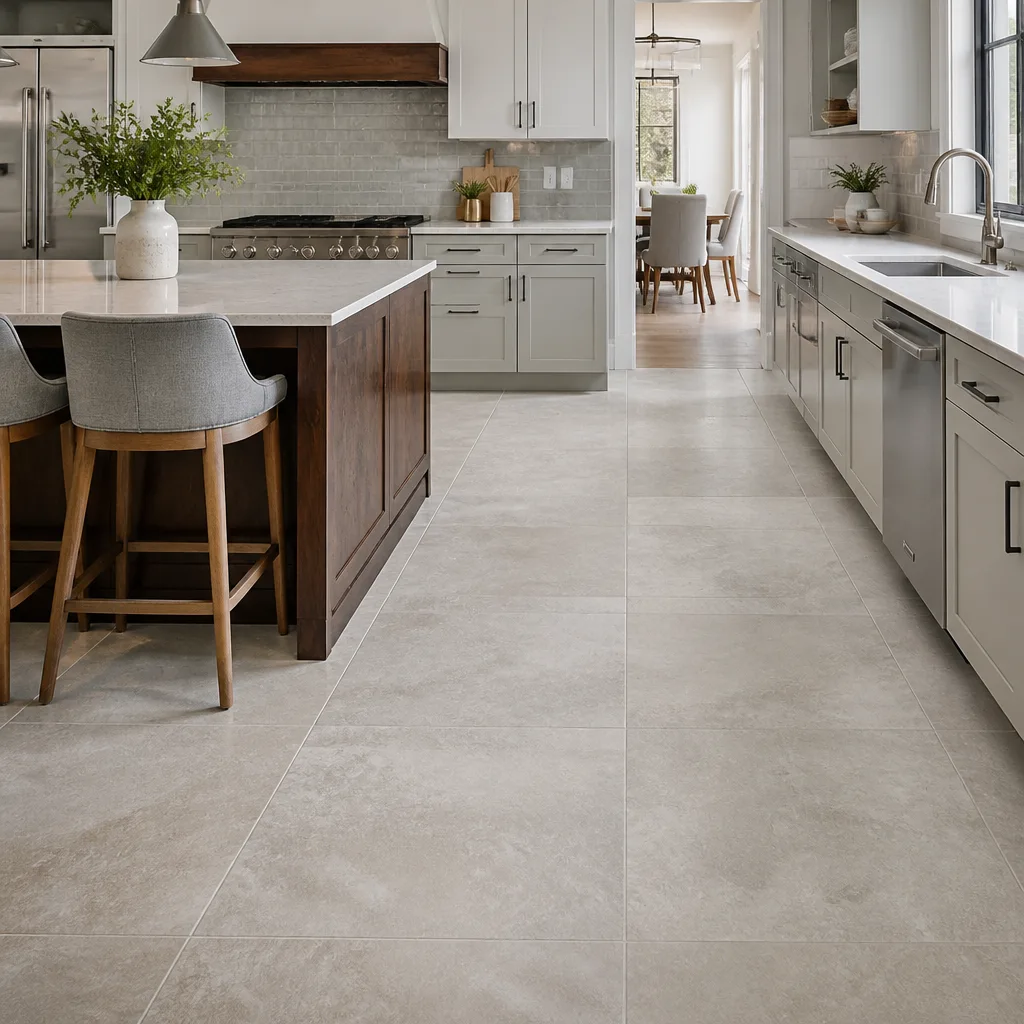 Porcelain tile
 Carpet
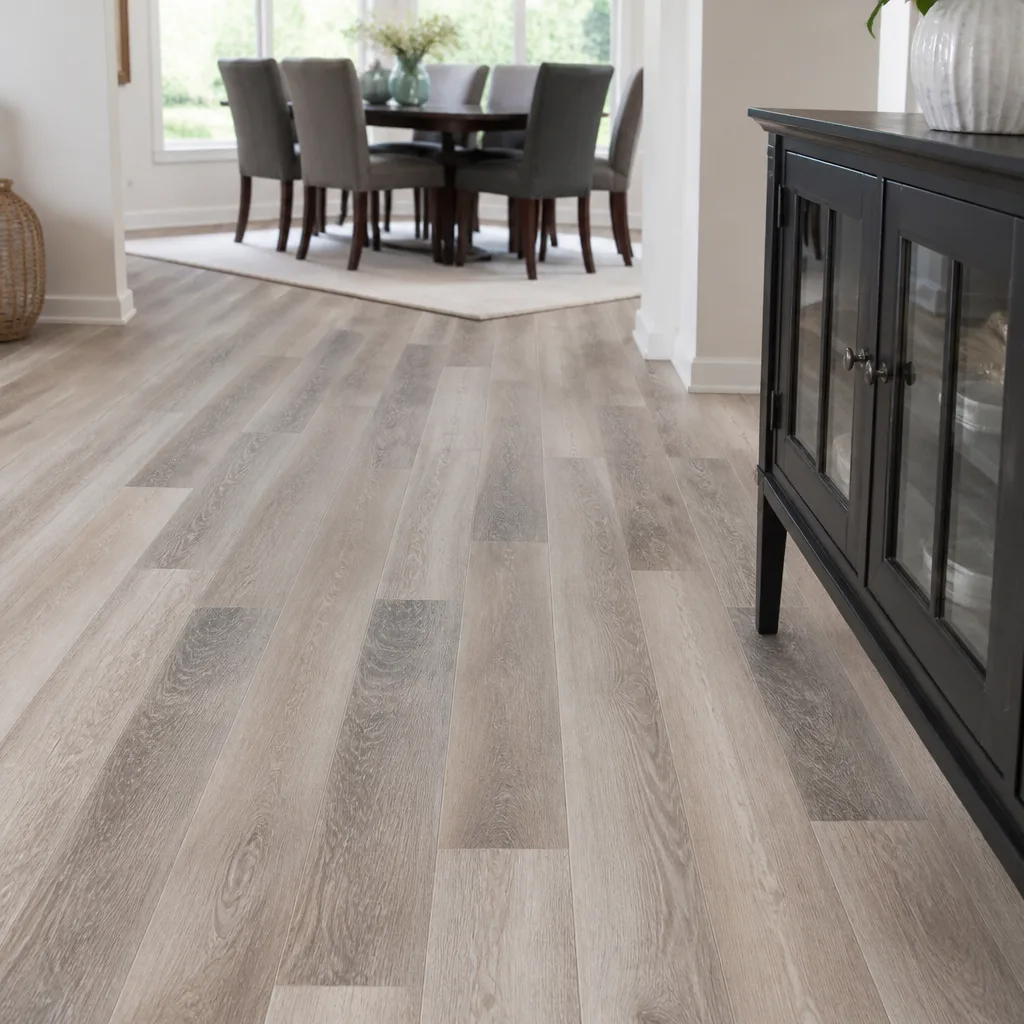 Shaw
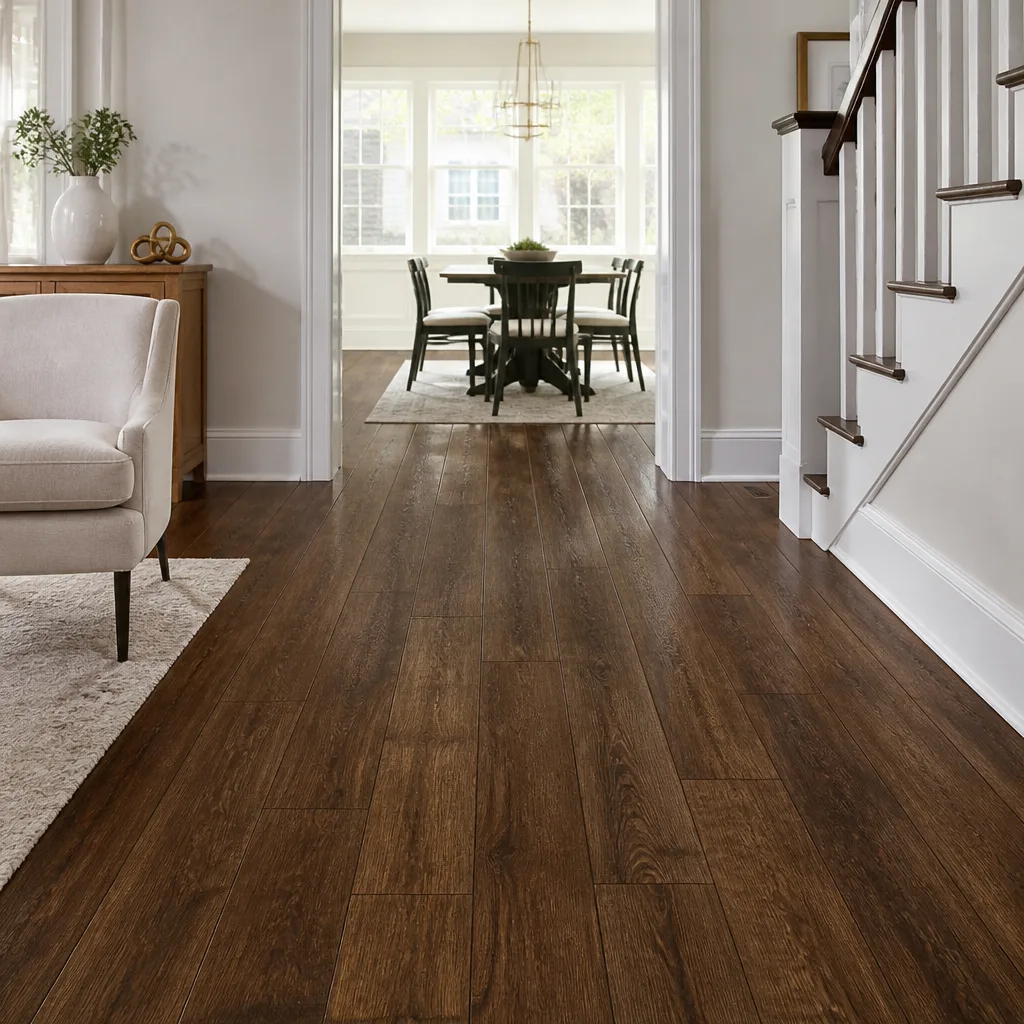 Mohawk
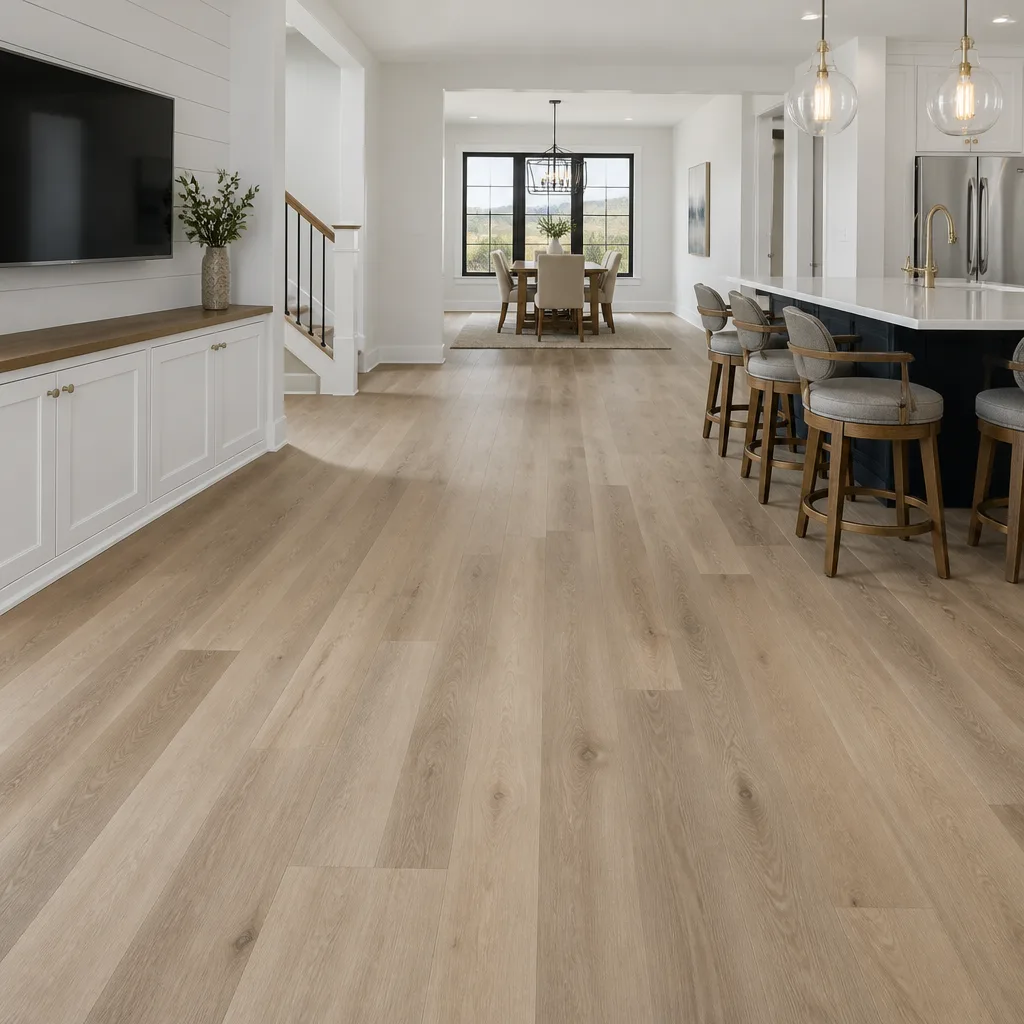 COREtec
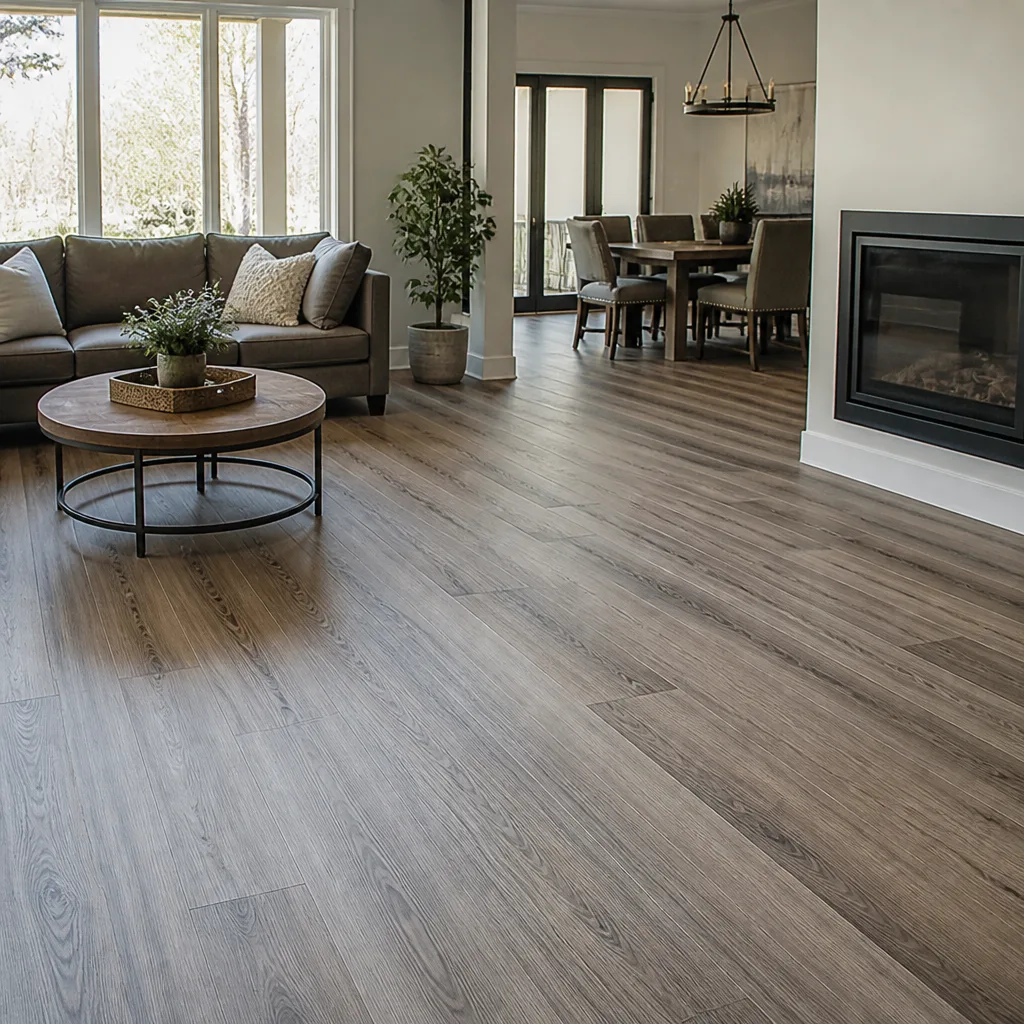 Pergo
Free in-home measure and written estimate: Shaw, Mohawk, COREtec and Pergo lines compared on your own rooms, with carpet, tile, vinyl plank, laminate and hardwood laid out side by side
Get your free estimateHow to Care for New Flooring: Hardwood, Vinyl, Laminate, Tile and Carpet
Most new-floor care advice fails in Summerlin for one reason: it was written for a place with humidity. Here, tracked-in desert sand acts as a fine abrasive under foot traffic, low indoor humidity pulls moisture out of hardwood, and direct sun through a west-facing slider ages finishes faster than any national care guide accounts for. A quality entry mat does more for your floor than any polish on the market. This guide breaks care down by material, calibrates it to how Summerlin homes actually live, and covers the first year, when most avoidable damage happens.
Quick Answer
Care for new flooring by material, not by habit. Sweep or dry-mop hard surfaces first to lift abrasive grit, then clean with a pH-neutral product made for that floor type; never steam-mop vinyl or laminate, and skip wax or oil soaps on hardwood. Run indoor humidity between roughly 35% and 55% for wood, blot spills instead of wiping, and vacuum carpet often, especially in rooms facing open desert. Most of the work is prevention: grit control, moisture control, and sun control.
Styles & brands we work with
- Hardwood
- Engineered hardwood
- Luxury vinyl plank
- Laminate
- Porcelain tile
- Carpet
- Shaw
- Mohawk
- COREtec
- Pergo
Table of Contents
- The First Week: What to Do Right After Installation
- The First Year: Break-In, Cure Time, and What’s Normal
- Hardwood Care: pH-Neutral Cleaners and Humidity Control
- Vinyl and Laminate Care: Why Steam Mops Are the Problem
- Tile Care: Grout Sealing and Hard Water in Summerlin
- Carpet Care: Vacuuming Frequency and Desert Particulate
- Sun and UV: Protecting Finishes in Direct Light
- A Seasonal Care Calendar for Summerlin Homes
The First Week: What to Do Right After Installation
Keep traffic light for the first couple of days and follow the product instructions and your written estimate for when rugs, heavy furniture, and wet cleaning can go back on the floor. Manufacturers set their own guidance and it varies by product, so the paperwork that comes with your floor outranks any general rule, including ours. What we can say is the shape of that first week, because it looks the same on almost every job.
Move furniture back carefully rather than sliding it. Felt pads under legs are cheap insurance and take ten minutes to install. If you have to move something heavy across a hard surface, use a furniture slide or a blanket, not muscle and hope. In Summerlin, the first week also means watching sun: if a room takes direct afternoon light, close blinds during peak hours until rugs and window treatments are in place, because a new finish is most vulnerable to uneven exposure before it settles into its routine.
Here’s what the first week usually involves:
- Day one: No shoes. Keep foot traffic to the essentials and let the installation settle.
- Days two and three: Return light furniture with felt pads attached, and avoid dragging anything across the floor.
- End of week one: Do the first dry sweep or vacuum to clear grit tracked in during the move-back, then set up your doormats and entry routine.
We install and refinish flooring across the valley, and the first-week habits are what separate a floor that still looks new after several years from one that’s showing traffic patterns early. If your installation is still ahead of you, our flooring installation Summerlin page walks through how the job is planned from measure to install day.
The First Year: Break-In, Cure Time, and What’s Normal
The first year of a floor’s life is when you learn its normal sounds and settle into a care routine, and it’s also when a few temporary quirks show up that alarm people unnecessarily. Hardwood, in particular, benefits from a break-in period: for roughly the first 30 days, keep indoor temperatures steady and avoid wide swings, because wood is still acclimating to the home and rapid changes stress it. That’s not a forever rule, just the settling window.
Tile grout needs its own patience. Grout has a cure time before it should see wet cleaning, and the specific window depends on the product and is stated on the material instructions and your written estimate. Until then, dry cleanup and spot blotting only. Flooding new grout with a wet mop too early is one of the more common first-month mistakes we hear about.
Vinyl plank gets a bad reputation in month one for a sound that’s usually completely normal. As the floor warms and cools and the planks settle against each other, you’ll hear occasional clicking underfoot, especially in rooms with big temperature swings or where the subfloor isn’t perfectly flat. Normal clicking is occasional and soft. What should prompt a call is clicking that repeats in the same spot every time you step there, planks that visibly lift at a seam, or a gap that opens up between boards. Those point to a movement or installation issue rather than settling, and the earlier it’s looked at, the simpler the fix.
What’s normal in year one:
- Occasional soft clicks under vinyl plank in temperature swings, fading as the floor settles.
- Slight seasonal gapping in hardwood during the driest months, closing again as humidity returns.
- Grout that looks slightly lighter or darker in patches while it finishes curing.
What’s not normal and deserves a look: gapping that opens and stays open, planks lifting at seams, grout cracking along a straight line, or a soft spot underfoot. If you’re planning a full room or whole-home install and want to understand the process before care even starts, our guide to Sandy Valley covers how a project comes together in a similar desert setting.
Hardwood Care: pH-Neutral Cleaners and Humidity Control
Hardwood care in Summerlin comes down to two things: what touches the surface and what’s in the air. On the surface, use a pH-neutral cleaner made for wood and a damp, not wet, mop or cloth. Oil soaps, waxes, and all-purpose sprays leave residue that dulls the finish over time and can make future refinishing harder. Water is the enemy of wood, so the mop should be wrung until it’s barely damp.
The air matters just as much. In a desert climate, indoor relative humidity can sit well below what wood wants. Aim for roughly 35% to 55% RH, measured with an inexpensive hygrometer, and treat that as the operating range for the whole home. This is where a whole-home humidifier interacts with your HVAC system: a properly set humidifier keeps the whole house in range rather than one room, which is exactly what you want, since wood responds to the home’s average conditions. Setting it too high creates its own problems, so the target range is the goal, not the maximum.
Seasonal gapping is normal in this climate. Boards shrink slightly as indoor air dries in the hot months and close back up as humidity rises. That’s physics, not damage. Gapping that signals a moisture problem looks different: it opens unevenly, one area much wider than the rest, stays open, or comes with cupping or crowning across the boards. That deserves a look from a professional rather than another humidifier adjustment.
If your wood floors are worn rather than new, refinishing is often the smarter move than replacement. Our specialty is flooring installation Summerlin work of all kinds, including hardwood refinishing, which brings original wood back to life instead of covering it. We’ve seen plenty of Summerlin homes where the floor underneath the wear was worth keeping the whole time.
Vinyl and Laminate Care: Why Steam Mops Are the Problem
Steam mops are the single most common cause of avoidable damage to vinyl plank and laminate floors, and the reason is simple: heat and forced moisture find seams and edges. Even water-resistant products have limits, and standing water or moisture from below still has to be dealt with. No floor in this category should be treated as waterproof. A steam mop pushes hot vapor into every joint, which is exactly where a floating floor is most vulnerable. Skip it entirely.
What actually works is boring and fast. Sweep or vacuum first to remove grit, then clean with a damp microfiber mop and a cleaner made for the product. Dry the floor after. The dry-mop-first step is the one people skip, and it’s the most important one in Summerlin, because sand tracked in from outside acts like sandpaper under a wet mop. Wet-mopping over grit just grinds it across the wear layer.
For premium planks like COREtec and LifeProof, the routine is the same: dry removal first, damp cleaning second, no steam, no soaking, no wax. If a spill sits, blot it up rather than letting it pool at a seam. And if you’re choosing a new floor for a kitchen, laundry, or entry, the resilient category is often the right call for a room that sees water and traffic – our tile flooring installation and resilient work both come up in those conversations, and we’ll tell you honestly which fits.
Tile Care: Grout Sealing and Hard Water in Summerlin
Tile itself is nearly care-free; the grout is what needs attention. In Summerlin, hard water is the main enemy of grout lines and glass tile. Mineral content in the water leaves a film that builds up gradually, and once it’s set into grout, it’s stubborn. Sealing grout on a schedule, and drying tile after use in wet rooms, prevents most of the problem before it starts.
The grout sealing schedule depends on the grout type and the room. Cement-based grout in a shower or a busy kitchen generally wants resealing more often than grout in a dry hallway, and the product instructions set the interval. A simple test: if water beads on the grout, the seal is holding; if it soaks in, it’s time to reseal. That’s a two-minute check you can do yourself.
Regular tile cleaning is straightforward:
- Sweep or vacuum to lift grit, especially in entryways where sand collects.
- Mop with a pH-neutral tile cleaner and warm water; avoid acidic cleaners on cement grout, which can etch it.
- For hard water film, use a cleaner made specifically for mineral deposits and let it dwell rather than scrubbing harder.
- Dry tile floors in wet rooms with a squeegee or towel to keep minerals from settling.
Precision installation is what makes a great product last, and that’s as true of tile as anything. Straight grout lines and properly bonded tiles start with the install, not the cleaning. If you’re considering new tile, our tile flooring installation service covers the full job, and Daltile is one of the manufacturers we carry.
Carpet Care: Vacuuming Frequency and Desert Particulate
Carpet in a Summerlin home faces a specific challenge: fine desert particulate. The dust and sand here is finer than in wetter climates, and in cut-pile carpet it works down toward the backing rather than sitting on top, while loop pile traps it higher and releases it more easily to a good vacuum. For homes near open desert or with doors that open straight to the outside, that means vacuuming more often than a generic care guide suggests – think twice a week in high-traffic rooms and at least weekly elsewhere.
Vacuuming technique matters as much as frequency. Slow passes with overlapping strokes pull embedded grit out; fast back-and-forth just skims the surface. A vacuum with strong suction and a beater bar does more than any spot treatment, and going over a high-traffic path twice in opposing directions lifts what a single pass leaves behind. Professional cleaning on a regular interval is what keeps most carpet warranties intact, and the interval the manufacturer specifies is the one to follow, since the written terms set the requirement.
Spills should be blotted, not scrubbed, from the outside in, with a clean white cloth. Scrubbing distorts pile and spreads the spill. For anything set or unusual, call a professional rather than experimenting with household cleaners. When it’s time for new carpet, our carpet installation work covers soft-surface rooms, and brands like Mohawk and Shaw give you real comparisons in one conversation.
Sun and UV: Protecting Finishes in Direct Light
Direct sun is underrated as a floor killer, and in Summerlin the sunlight is intense. UV degrades dyes and surface coatings, and it does it unevenly: the strip of floor that takes the afternoon sun fades while the rest stays put. The fix is management, and it starts with windows. Window film with a transmission rating is the cleanest solution for a west- or south-facing slider, and the higher the UV rejection, the better for any floor beneath it. Blinds and solar shades do the job too.
Area rugs need rotating, and more often than most people think. A rug that sits in a sun path fades in its exposed strip, so rotating it a quarter turn every few months spreads the exposure evenly. Same for furniture: move it slightly now and then so the floor color changes uniformly.
Finish type matters for sun exposure. Aluminum oxide finishes, common on many modern factory-finished hardwoods, hold up to UV and wear better than oil-modified urethane, which tends to amber and fade more readily under direct light. If your refinishing is coming up, and you’re near a bright window, that’s worth discussing. Our flooring installation Summerlin work includes refinishing, and the finish choice is part of the conversation.
A Seasonal Care Calendar for Summerlin Homes
A care calendar doesn’t need to be elaborate; it needs to match the climate. In Summerlin, the hot months dry the air and the cooler months bring their own swings, so the routine shifts with the season. Here’s the shape of a year of care:
- Spring: Deep-clean grout and check the seal with the water-bead test. Rotate area rugs. Wash doormats and check door sweeps for gaps that let grit in.
- Summer: Run the humidifier and watch the hygrometer in hardwood homes. Close blinds during peak afternoon sun. Vacuum carpet more often if doors stay open to the outside.
- Fall: Reseal grout if it fails the test. Check hardwood gaps to confirm they’re seasonal, not structural. Clean and store window treatments.
- Winter: Keep indoor humidity steady, and pay attention to temperature swings from heating. Dry-mop hard floors more often as indoor air gets drier.
The through-line for every season is the same: keep grit off the floor, keep moisture where it belongs, and keep the sun from beating on one spot. Every material on this list is different, but those three habits cover most of what matters.
Common Mistakes to Avoid
- Steam-mopping vinyl or laminate. Hot vapor finds seams; skip it entirely and use a damp mop.
- Wet-mopping over grit. In a desert climate, tracked-in sand becomes an abrasive if you mop before sweeping. Dry removal first, every time.
- Using oil soap or wax on hardwood. It dulls the finish, builds residue, and complicates future refinishing. pH-neutral only.
- Ignoring indoor humidity. Wood needs roughly 35% to 55% RH. A hygrometer is cheap and tells you more than guesswork.
- Letting the sun hit one spot all day. Uneven UV exposure causes uneven fading. Blinds, film, and rug rotation fix it.
- Skipping grout sealing in wet rooms and hard-water areas. Summerlin water leaves minerals that set into grout; sealing prevents most of it.
- Assuming a grout or finish problem is cosmetic. Cracks along a straight line or cupping in wood often signal something structural beneath, and early attention saves work.
See the difference
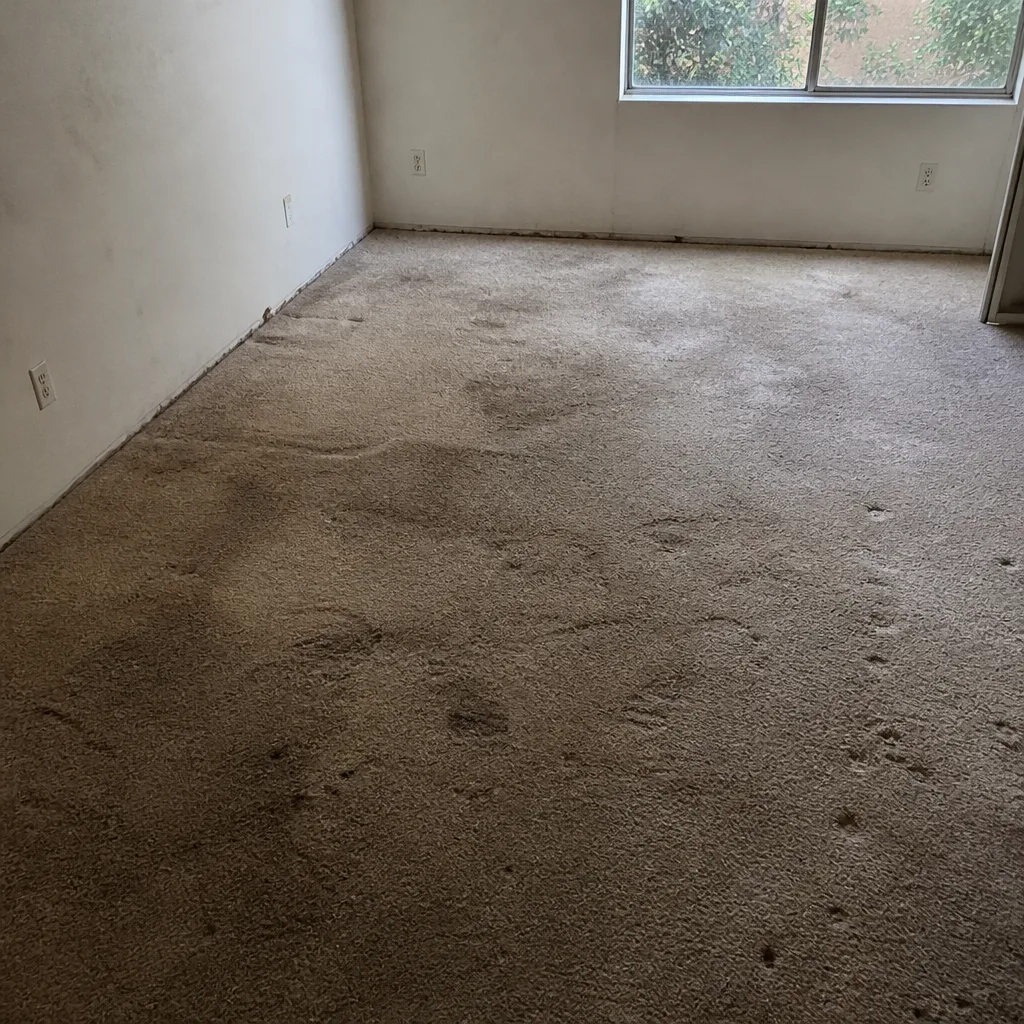 Before
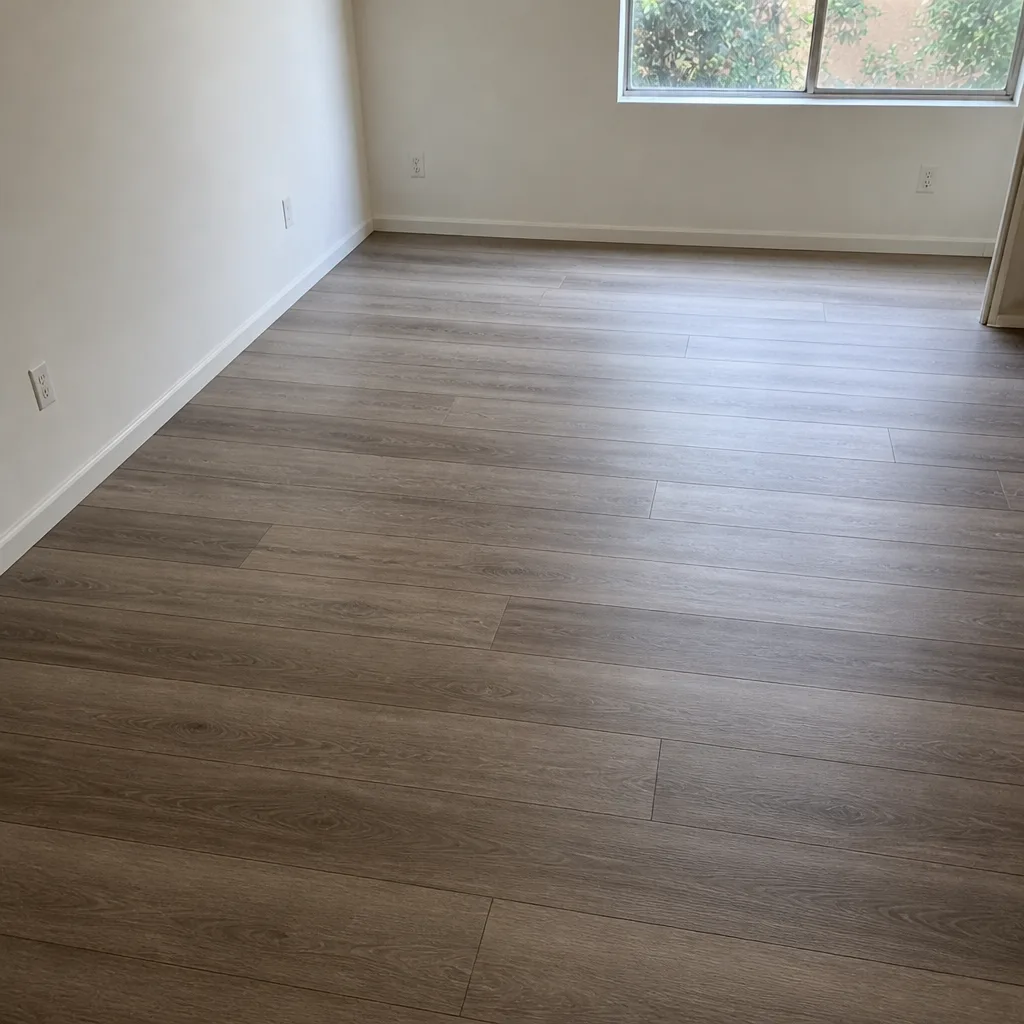 After
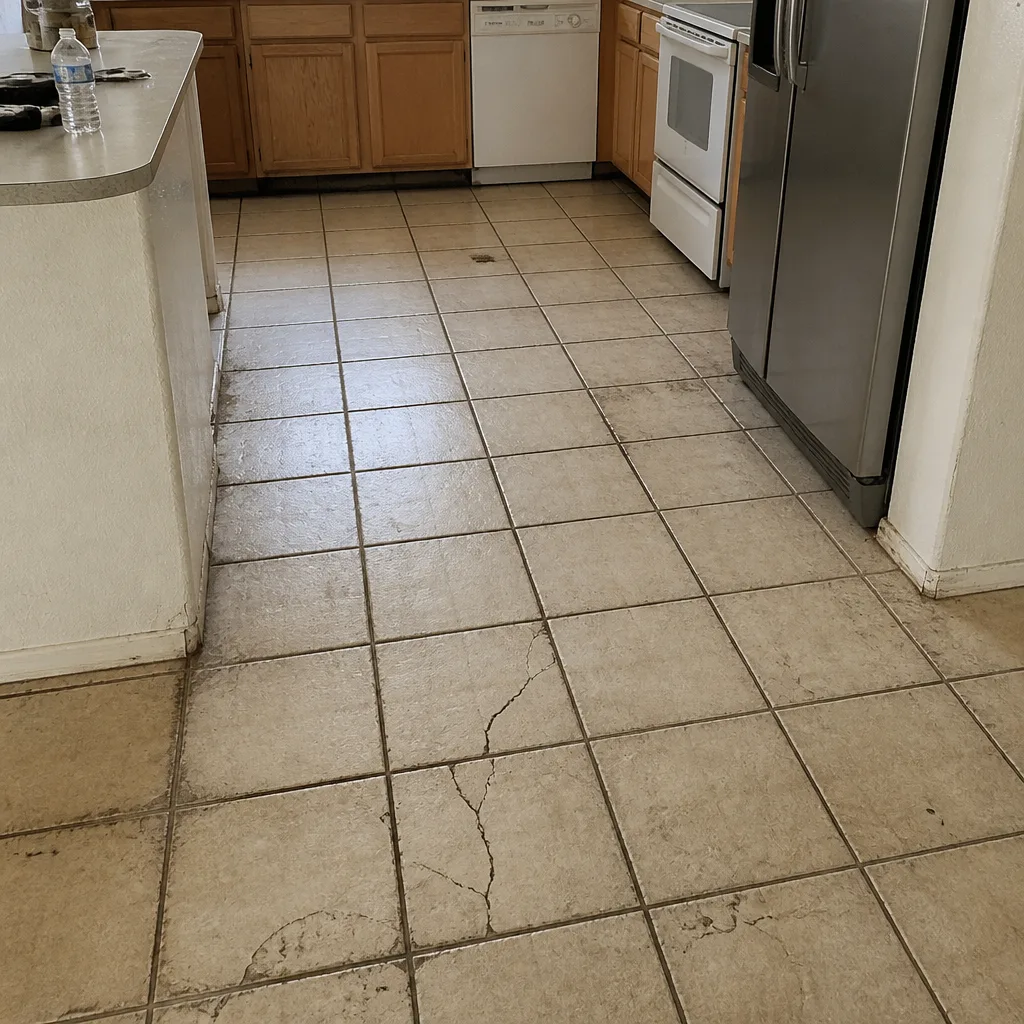 Before
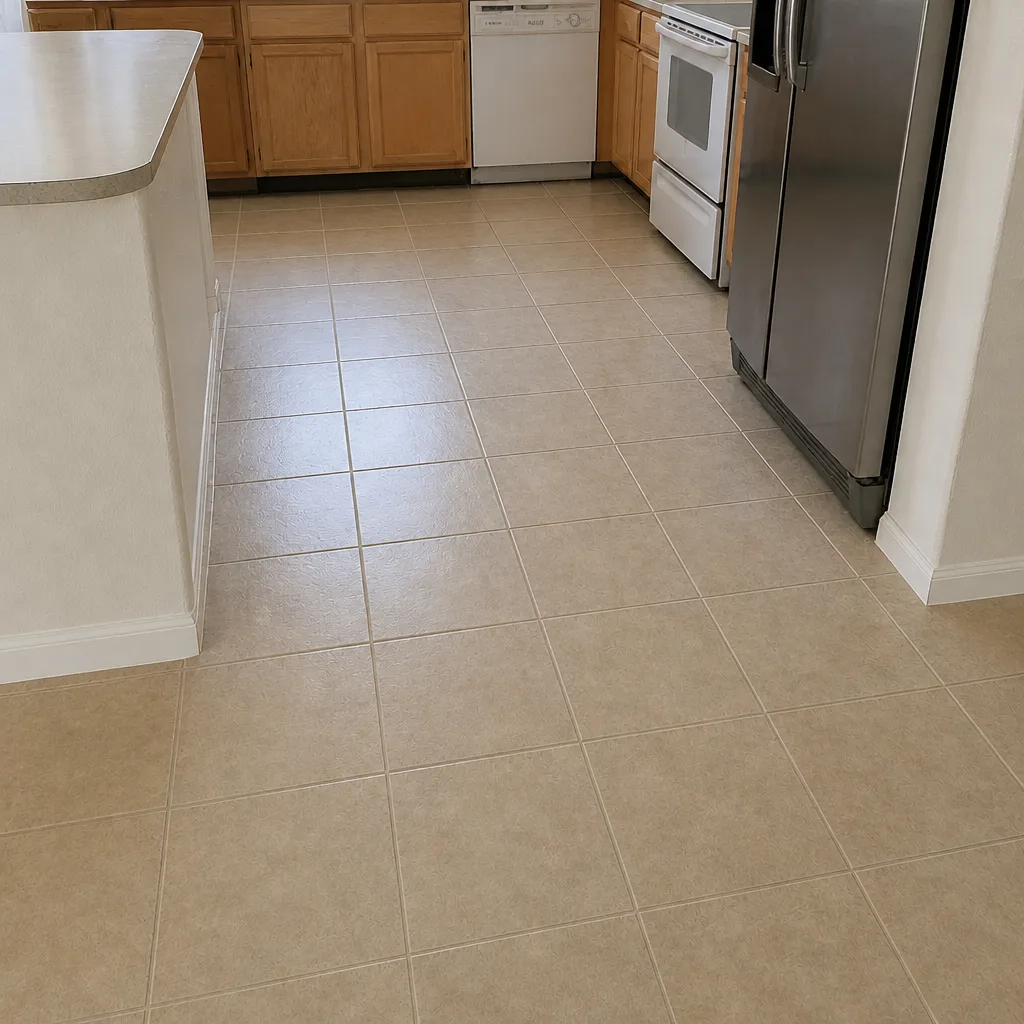 After
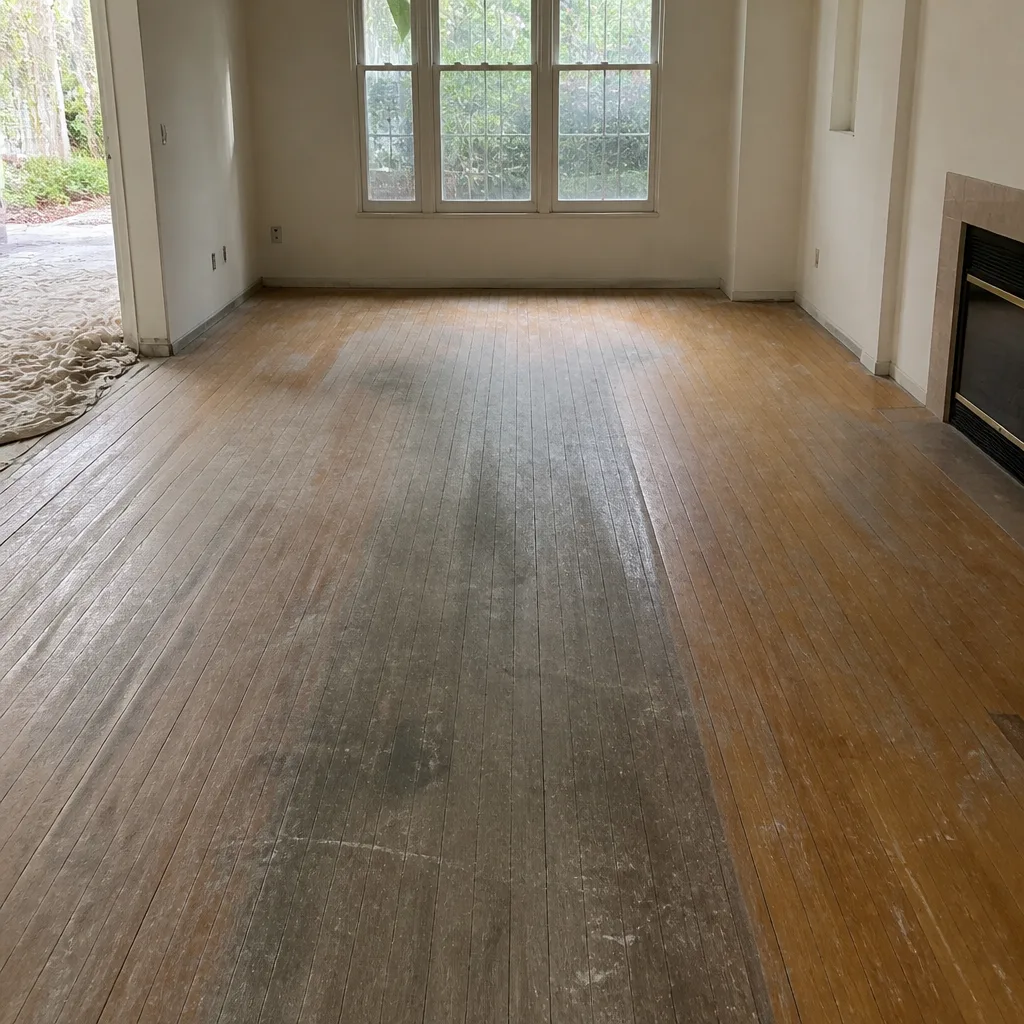 Before
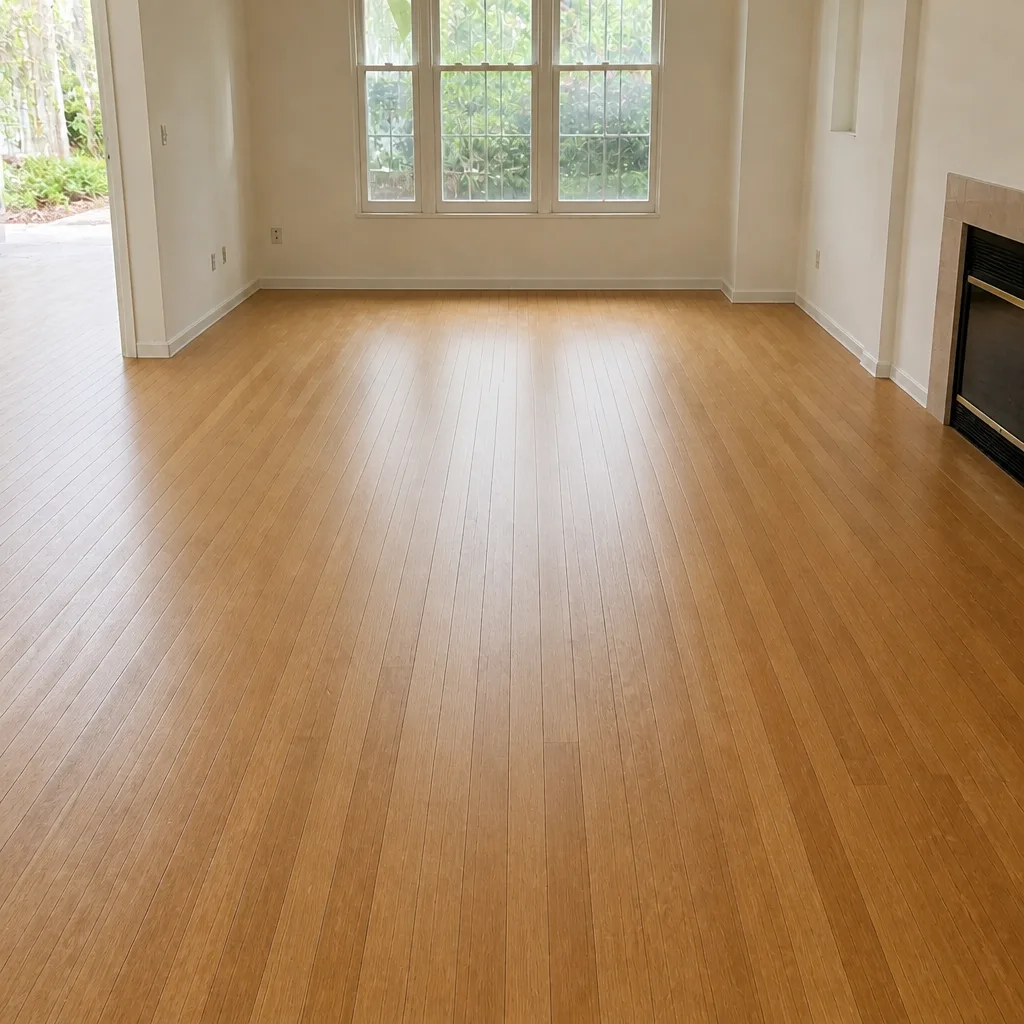 After
When to Call a Professional
Most new-floor care is yours to handle, but a few situations deserve a professional look rather than another cleaning product. That includes hardwood that cups, crowns, or gaps unevenly; vinyl planks that lift at seams or click in the same spot repeatedly; grout that cracks along a straight line or a tile that sounds hollow underfoot; and sun damage severe enough that the finish itself is breaking down. Professionally installed floors and floors that need attention both fall in our wheelhouse: Flooring Installation Summerlin offers free estimates in Summerlin – call (844) 320-7082. Our technicians have up to 9 years of experience, we answer 24/7, and fast dispatch runs from 7am to 7pm, Sunday through Friday.
Frequently Asked Questions
Twice a week in high-traffic rooms and at least weekly elsewhere. Desert particulate is fine and works down into cut-pile carpet, so slow overlapping passes pull more out than fast ones. Professional cleaning on the interval your manufacturer specifies keeps most warranties intact – call (844) 320-7082 for an exact quote, and estimates are free.
No. Steam mops push hot vapor into seams and edges, which is exactly where floating floors are most vulnerable. Use a dry sweep first, then a damp microfiber mop with a cleaner meant for the product, and dry the floor afterward.
Small seasonal gapping is normal, because indoor air dries in the hot months and boards shrink slightly. What’s not normal is uneven gapping that stays open, or gapping with cupping or crowning across the boards; that points to a moisture issue and deserves a professional look.
Seal the grout on the schedule your product requires, check it with a water-bead test, and dry wet-room tile after use. Use a pH-neutral cleaner for routine care and a mineral-deposit-specific product for hard-water film. Our tile crew can assess install and sealing needs – call (844) 320-7082, and estimates are free.
Roughly 35% to 55% relative humidity. A hygrometer measures it; a whole-home humidifier set properly keeps the average in range. Avoid setting it higher than the target range, and keep temperature swings minimal during the first 30 days.
Yes, if it takes direct sun, over time. UV degrades dyes and coatings unevenly, so the exposed strip fades while the rest stays put. Window film, blinds, and rotating rugs spread the exposure and slow it down. For finish choices that hold up under direct sun, call (844) 320-7082 and we’ll talk through options – estimates are free.
The Bottom Line
Care for new flooring comes down to three habits, applied by material: keep abrasive grit off the surface by dry-cleaning first; keep moisture where it belongs, with pH-neutral cleaners and a dry mop for wood and a damp mop for everything else; and keep the sun from working on one spot all day. Hardwood wants humidity in a 35% to 55% range and a neutral cleaner. Vinyl and laminate want no steam. Tile wants sealed grout and attention to hard water. Carpet wants slow, frequent vacuuming. Start with prevention and the first year takes care of itself.
If you’re planning a new floor or your current one needs refinishing, we can help. Call (844) 320-7082 for a free estimate. We answer 24/7. Fast dispatch from 7am to 7pm, Sunday through Friday.
Written by the team at Flooring Installation Summerlin.